Discover the dazzling world of Glitter UV Nail Wraps, the latest trend in nail art that combines convenience, durability, and unmatched shine. Whether you're a nail art enthusiast or a professional manicurist, these innovative wraps offer a quick and easy way to achieve salon-quality nails at home. Let's delve into the beauty and benefits of Glitter UV Nail Wraps and learn how to apply them for a stunning, long-lasting finish.
What Are Glitter UV Nail Wraps?
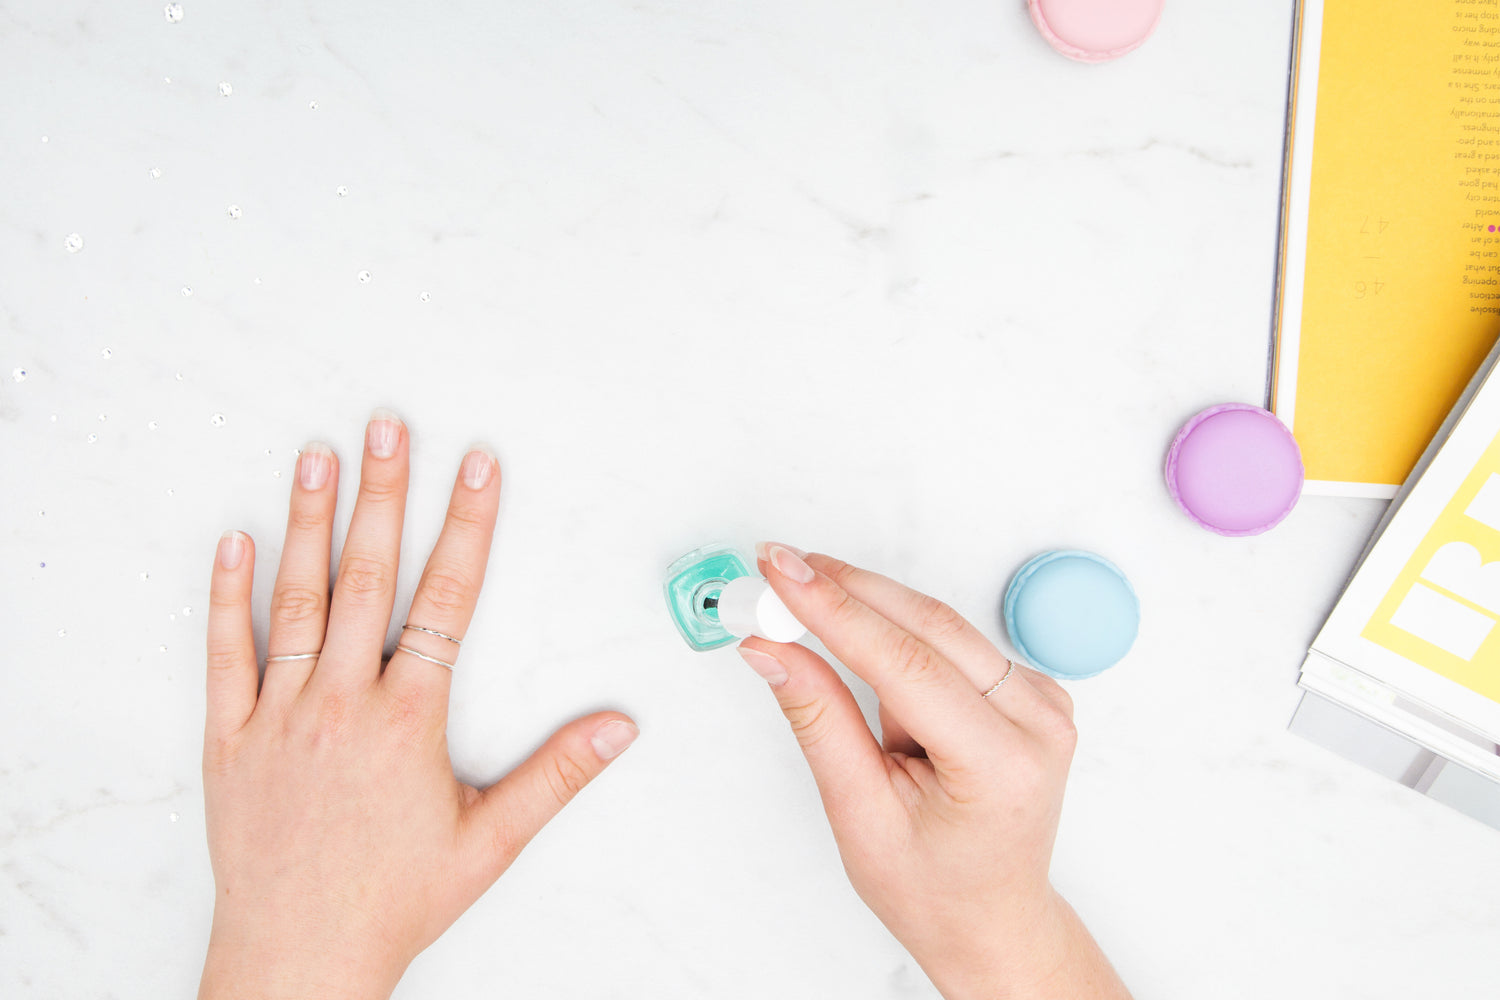
Glitter UV Nail Wraps are pre-designed adhesive stickers that you can apply directly to your nails. These wraps are infused with glitter and designed to be cured under UV light, providing a durable and high-shine finish that lasts for weeks without chipping or fading. Available in a wide variety of colors and patterns, they allow you to experiment with different looks without the mess and time commitment of traditional nail polish.
Benefits of Glitter UV Nail Wraps
Easy Application
One of the primary advantages of Glitter UV Nail Wraps is their ease of application. Even if you're a novice at nail art, you can achieve professional-looking results in minutes. Simply peel, stick, and cure under a UV lamp.
Long-Lasting Wear
Unlike regular nail polish that can chip within days, Glitter UV Nail Wraps are designed to last for up to two weeks. The UV curing process hardens the wrap, making it resistant to daily wear and tear.
No Drying Time
Say goodbye to smudged nails and long drying times. With Glitter UV Nail Wraps, there's no need to wait for polish to dry. Once cured, you're ready to go!
Versatile Designs
From subtle sparkle to bold bling, Glitter UV Nail Wraps come in a variety of designs to suit every style and occasion. Mix and match patterns for a unique look that's all your own.
How to Apply Glitter UV Nail Wraps
Applying Glitter UV Nail Wraps is straightforward and can be done in a few simple steps:
Step 1: Prep Your Nails
Start by cleaning your nails thoroughly. Remove any old polish, and ensure your nails are dry and free of oils. Lightly buff the surface of your nails to help the wraps adhere better.
Step 2: Select the Right Size
Choose the wrap size that best fits each nail. If necessary, you can trim the wraps to achieve a perfect fit.
Step 3: Apply the Wrap
Peel off the wrap from its backing and carefully place it on your nail, starting from the cuticle and smoothing it towards the tip. Press down firmly to ensure there are no air bubbles.
Step 4: Cure Under UV Light
Once all the wraps are applied, cure them under a UV lamp for the recommended time. This step is crucial as it hardens the wrap and enhances its durability.
Step 5: File and Finish
Use a nail file to gently remove any excess wrap from the tips of your nails. For a flawless finish, apply a top coat and cure again under UV light.
Tips for Maintaining Your Glitter UV Nail Wraps
-
Avoid Excessive Moisture: Prolonged exposure to water can affect the longevity of your wraps. Wear gloves when doing dishes or other water-intensive activities.
-
Use Cuticle Oil: Keep your cuticles and nails hydrated by applying cuticle oil daily. This will help maintain the flexibility and appearance of your wraps.
-
Avoid Harsh Chemicals: Exposure to harsh chemicals, such as cleaning agents, can cause the wraps to lift or peel. Use gentle products whenever possible.
Why Choose Glitter UV Nail Wraps?
Glitter UV Nail Wraps are a game-changer for anyone who loves nail art but doesn't have the time or patience for traditional polish. Their ease of use, durability, and stunning designs make them a popular choice for both everyday wear and special occasions. Plus, with no drying time and long-lasting results, they offer a hassle-free way to keep your nails looking fabulous.

 Sold outPolish Addict
 Sold outPolish Addict
 Sold outPolish Addict
 Sold outPolish Addict