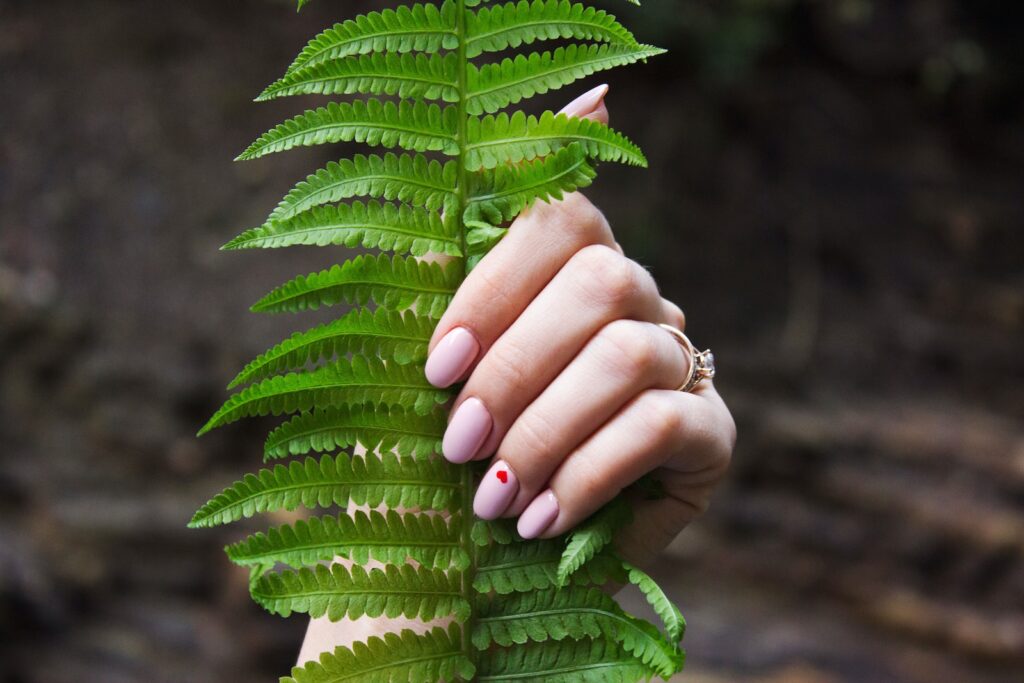
Looking to add a pop of color to your nails? Get ready to rock some fierce pink ombre nails!
This trendy nail design is all about blending shades of pink for a fun and vibrant look.
With our step-by-step guide, you’ll be able to achieve the perfect pink ombre manicure in no time.
So go ahead, express your creativity and show off your unique style with these eye-catching nails.
Get ready to slay!
Key Takeaways
- Gather necessary supplies: nail file, base coat, pink ombre shades, makeup sponge, top coat
- Choose the right shades for a gradient transition
- Master the blending technique with a sponge or brush
- Customize the design with glitter, rhinestones, and different shades of pink
The Basics of Pink Ombre Nails
You should start by gathering all the necessary supplies for creating the perfect pink ombre nails. To achieve the freedom and creativity you desire, you’ll need a few key items.
Grab a nail file to shape and smooth your nails. Embrace the freedom to choose your desired shape, whether it’s square, rounded, or somewhere in between.
You’ll need a base coat to protect your natural nails and ensure the longevity of your manicure. Apply it liberally, allowing it to dry completely before moving on to the next step. Freedom comes from a strong foundation, after all.
Now it’s time to choose your pink ombre shades. Be bold and experiment with various shades to create a gradient effect. Use a makeup sponge to blend the colors seamlessly, starting at the base of your nails and working your way up. Don’t be afraid to let your creativity shine through as you blend the colors together.
Finish off with a top coat to seal in your masterpiece and add a glossy finish. This will ensure your pink ombre nails stay flawless and chip-free for as long as possible. Embrace the freedom of self-expression and enjoy your perfectly pink ombre nails!
Choosing the Right Shades for Your Pink Ombre Nails
To achieve the perfect pink ombre nails, try blending two or three shades together using a makeup sponge. It’s a fun and creative way to express yourself through your nails.
Here are some tips to help you choose the right shades for your pink ombre nails:
- Start with a light pink base color. This will create a soft and subtle gradient effect.
- Next, choose a medium pink shade to add depth and dimension to your ombre design.
- For a bolder look, consider adding a dark pink shade. This will create a striking contrast and make your nails pop.
- Don’t be afraid to experiment with different finishes, like matte or glitter. They can add a unique touch to your ombre nails.
- Lastly, remember to have fun and let your creativity flow. There are no rules when it comes to choosing shades for your pink ombre nails. Trust your instincts and go with what makes you feel confident and free.
Step-by-Step Guide to Achieving the Perfect Pink Ombre Nails
Start by applying a light pink base coat onto your nails, then gradually blend in a medium pink shade for a seamless ombre effect.
Achieving the perfect pink ombre nails is easier than you think. Begin by preparing your nails and shaping them to your desired length. Then, apply a thin layer of base coat to protect your nails and help the polish last longer.
Once the base coat is dry, it’s time to create the ombre effect. Start with the light pink polish and apply it to the bottom half of your nail, focusing on the tips. Use a sponge or a small brush to blend the medium pink shade onto the nail, starting from the middle and working your way up to the tips. This will create a gradient effect, with the light pink shade at the tips and the medium pink shade at the base.
Allow the polish to dry completely before applying a top coat to seal in the ombre effect and add shine.

Tips and Tricks for a Flawless Pink Ombre Manicure
For a flawless pink ombre manicure, apply two coats of the light pink polish and then blend in the medium pink shade using a sponge or brush. Achieving the perfect pink ombre nails requires a few tips and tricks to make it effortless and stunning. Here’s what you need to know:
- Choose the right shades: Opt for a light pink shade as the base color and a slightly darker medium pink shade for the ombre effect. This combination creates a beautiful gradient transition.
- Prepare your nails: Start by shaping and filing your nails to your desired length and shape. Push back your cuticles and gently buff the surface of your nails for a smooth canvas.
- Apply a base coat: Before applying any polish, always start with a base coat. This will protect your nails from staining and help the polish adhere better.
- Master the blending technique: Use a sponge or brush to blend the medium pink shade into the light pink polish. Start at the middle of your nail and gently blend upwards towards the tip. This will create a seamless ombre effect.
- Finish with a top coat: Once you’re satisfied with the gradient effect, seal it with a glossy top coat. This will add shine and prolong the wear of your manicure.
With these tips and tricks, you’ll be able to achieve a flawless pink ombre manicure that exudes freedom and confidence. So go ahead, express yourself through your nails and enjoy the freedom of creativity!
Creative Ideas for Customizing Your Pink Ombre Nail Design
Get playful with your pink ombre nail design by incorporating glitter and rhinestones for a dazzling and eye-catching look. When it comes to customizing your nails, the possibilities are endless. Let your creativity run wild and create a design that truly reflects your personality and style.
Experiment with different shades of pink to achieve the perfect ombre effect, starting with a light shade at the base of your nails and gradually transitioning to a darker hue towards the tips. Once you’ve achieved your desired ombre effect, it’s time to add some sparkle.
Apply a layer of clear or pink glitter polish on top of your ombre design for a touch of glamour. For an extra dose of bling, strategically place rhinestones on your nails. You can create a simple accent nail with a single rhinestone or go all out and create intricate designs using multiple rhinestones. The choice is yours.
Maintaining and Removing Your Pink Ombre Nails
Don’t forget to regularly moisturize your cuticles when maintaining and removing your pink ombre nails. Taking care of your nails is essential to keep them looking fabulous and healthy. Here are some tips to help you maintain and remove your pink ombre nails with ease:
- Gently push back your cuticles: Use a cuticle pusher or an orangewood stick to push back your cuticles before applying any nail polish. This will ensure a clean and neat application.
- Apply a base coat: Before applying the pink ombre nail polish, always start with a base coat. This will protect your natural nails and prevent staining.
- Use thin layers: When applying the pink ombre nail polish, make sure to use thin and even layers. This will help achieve a smooth and flawless gradient effect.
- Seal with a top coat: After applying the pink ombre nail polish, seal it with a top coat to protect the color and add extra shine. This will also help extend the longevity of your manicure.
- Moisturize regularly: Don’t forget to moisturize your cuticles and hands regularly, even after removing your pink ombre nails. Hydrated cuticles and hands are essential for healthy nails.
Conclusion
In conclusion, pink ombre nails are a trendy and stylish choice for any manicure. By following the step-by-step guide and using the right shades, you can achieve a flawless ombre effect.
Don’t be afraid to get creative and customize your design to make it unique. And remember, proper maintenance and removal are key to keeping your pink ombre nails looking fresh and beautiful.
So go ahead, embrace the pink ombre trend and rock those fabulous nails!